White Balance: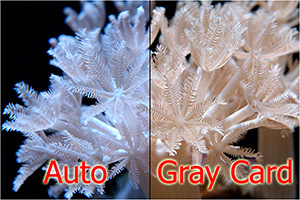 Even the best white balance sensors in today's cameras have a limited
operating range from approximately 4,000K to 8,000K. This means
any source of light that has a color temperature outside of this range will
not be detectable by the camera's auto white balance sensor. Since our
reef tanks are typically lit by 10,000K, 14,000K, and 20,000K lamps, the camera
cannot cope.
Even the best white balance sensors in today's cameras have a limited
operating range from approximately 4,000K to 8,000K. This means
any source of light that has a color temperature outside of this range will
not be detectable by the camera's auto white balance sensor. Since our
reef tanks are typically lit by 10,000K, 14,000K, and 20,000K lamps, the camera
cannot cope.
The resulting image almost always has a blue cast.
There are several ways around this. One technique is to use custom WB settings. Using a gray card or color checker is the preferred method, since it reflects
back all sources of light. Therefore, if our tank has mixed lighting
such as a 14,000K MH, 10,000K VHO, and actinics, all of which have different
light intensities, the resulting blue cast is still neutralized.
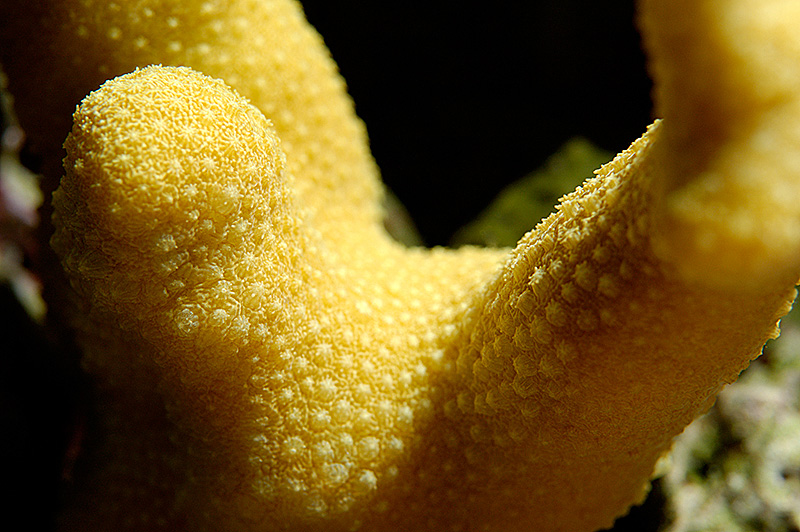
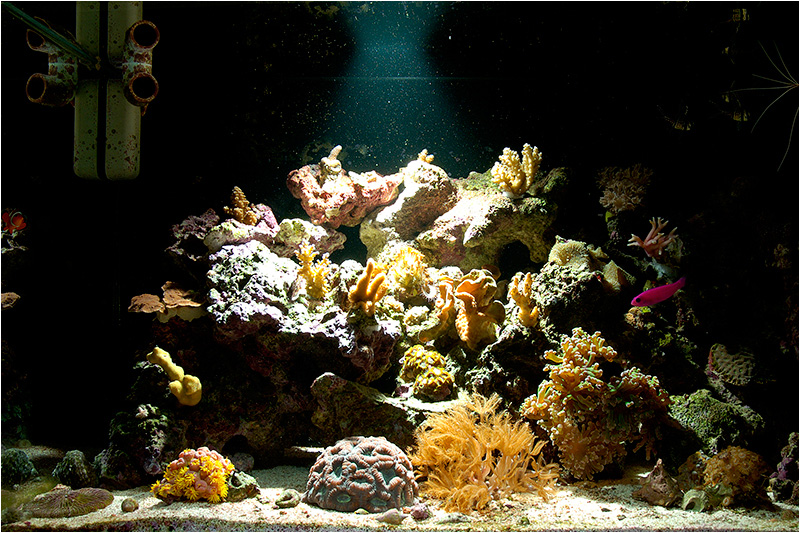
Dynamic Range:
Metal Halide lighting emanates from a very intense source. The result
is the tips of corals tend to be brightly lit and the intensity
decreases as you progress down the body of the coral. This results in
a large dynamic range on the main subject. As such, pay particular
attention to the blinky highlights to ensure highlight detail loss
is kept to a minimum.
Many times, the tips may be properly exposed but
the body appears too dark. The best way to correct this is to add a reflector
to reflect some of the incident lighting back onto the base of your subject. This decreases the dynamic range of the subject, making a proper exposure
and capturing of fine detail possible.
Although we can also correct the darkened areas
in post-processing by modifying the curve characteristics of the image,
noise increases in these areas as a result. Again, for the cleanest image, it
is best to
take care of imaging parameters and setup before actually recording
the data.
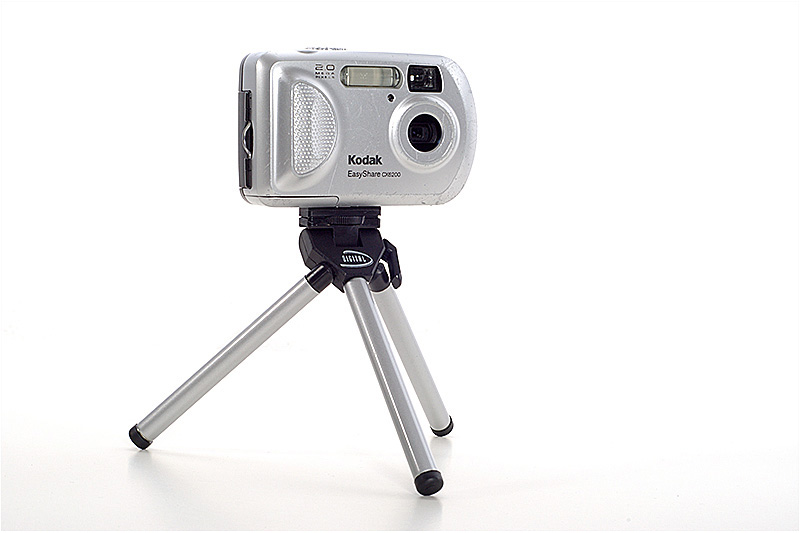
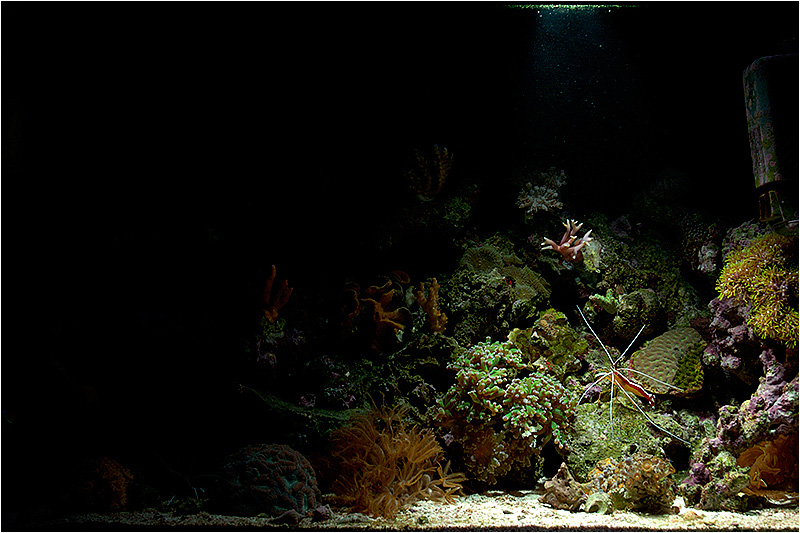
Support: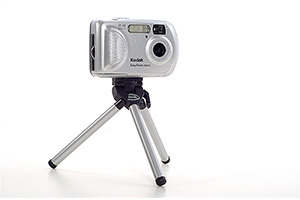 So, we light up our reef tank with a trio of 400W metal halides and think
1,200W of lighting is blinding. But, step outside on a sunny day
and look around. Look at the sidewalk, look at white cars, go back in
and look at our tank - it will appear dark. As reefers we know
that no matter how strong our lighting
is, it cannot compare to the intensity of the sun in which the corals are
accustomed to.
So, we light up our reef tank with a trio of 400W metal halides and think
1,200W of lighting is blinding. But, step outside on a sunny day
and look around. Look at the sidewalk, look at white cars, go back in
and look at our tank - it will appear dark. As reefers we know
that no matter how strong our lighting
is, it cannot compare to the intensity of the sun in which the corals are
accustomed to.
The same holds true of cameras and their exposure
system. Cameras are designed for shooting under daylight (under the sun)
type conditions. Bring it indoors and shoot under artificial lighting
and the camera needs more light to get a proper exposure.
The resulting lower shutter speed stresses the need
for a good support mechanism. Remember, as we get closer, the
more detrimental the effect even the slightest movement during the
exposure will have.
Use of even a cheapie $4 Wal-Mart tripod results
in higher quality photographs than handheld shots.